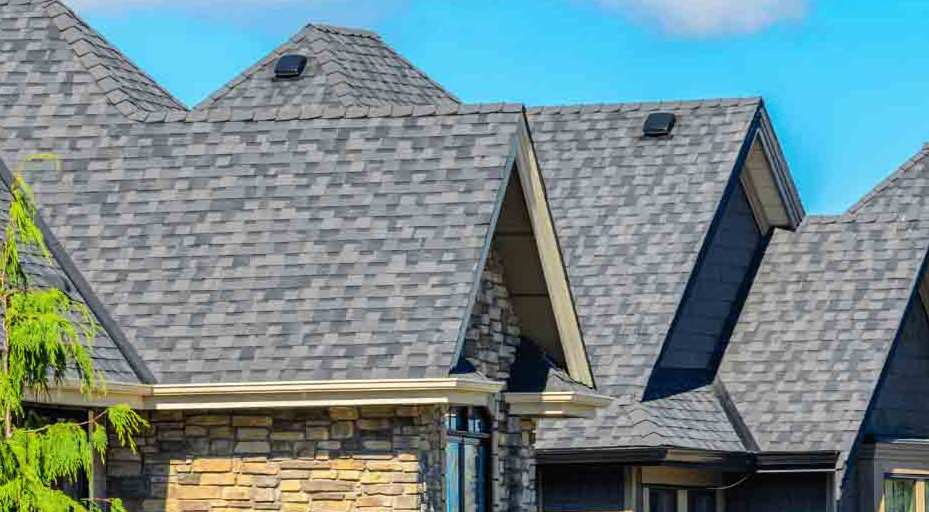
Shingle Roofing Process

Installing shingles on your roof is a project that a home owner can do “DIY”, with some planning. However, it is very important to prepare carefully and follow instructions closely. If your roof isn’t shingled properly, you can face a number of problems, such as leaks in rainy or snowy weather, or reduced home value if you are trying to sell your house. Therefore, it’s important to know the shingle roofing process. In this article we will go over the main steps you will need to complete to install your roof, but it is important you do more in-depth research. This is just a starting guide.
Before you begin shingling:
- Make sure you have stocked up on safety gear and the right tools for the job. This is extra important for roofing because falling off of the roof is a huge danger. Part of your shingle roofing process needs to be “safety first”. Have harnesses, hardhats, lines, and other safety equipment for you and anyone helping you.
- Prepare the area: make sure the ground around your house is clear of hazards. Park your vehicles on the street, not in your driveway. Make sure you have a disposal bin to throw old roofing products in as you remove them.
- Measure your roof area and calculate how many bundles of shingles you need. The old saying is, “measure twice, cut once.” It’s a good idea to do your measurements twice so you catch any mistakes. Furthermore, make sure you add an extra 10-20% to your estimate so you don’t end up short of supplies! Finally, don’t forget to order starter and ridge shingles, as well as any other materials like flashing that you might need.
The shingle roofing process:
- Prepare the roof and plan the job. Put down tarps on the ground to catch the old shingles, and carefully tear up the old product. Remember, be careful not to damage the decking (usually plywood or OSB) underneath. Once all the old material is removed, carefully check the roof for leftover nails or other things that need to come off. Next, you will look over the job and decide where to start.
- Once you have a plan, start by laying down the roof deck protection. This protects the material under the shingles from water and other damages. If you live in a very wet area, you might want special extra-waterproof deck protection. Start from the eaves up and work up, and overlap each sheet by 3-4 inches.
- Lay your shingles. In this part of the process, it’s a good idea to do some extra research to make sure you are properly installing the shingles. Some special “starter shingles” will be laid at the eaves to start your installation. Each shingle should be secured with 4-6 nails, and the nail heads should be covered by the next row of overlapping shingles. When you reach the ridge, you will then install “ridge shingles” to complete and seal the project. You will also need to install flashing around any chimneys and other edges on the roof.
With any luck, at the end of the weekend you will have a beautiful, watertight, freshly shingles roof. It’s not a difficult job if you take the time to plan and prepare, and are careful to do it well.

